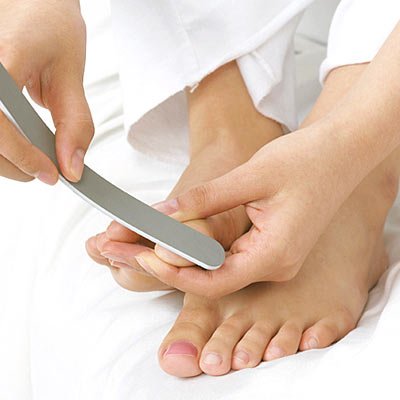
Getting your toes sandal-ready is easy once you know how, and a good pedicure can last up to three weeks if done right.
“Spending just 30 minutes on a proper DIY pedicure is one of the most transformative beauty treatments you can do,” says foot health expert, Margaret Dabbs.
“Not only does a good pedi make your feet look groomed, it’s an instant confidence booster.”
1. File toe nails
First, invest in a good nail file.
“Emery boards can tear and split your nails, resulting in an uneven look. Whereas, a glass file will give you a perfectly straight line as it allows you to file back and forth without damaging your nails,” says Margaret Dabbs.
File nails straight across. While it’s trendy to go for fancy shapes on your fingers, Margaret Dabbs says feet should never be filed in a round shape like fingernails.
“Straight across is the most flattering and healthiest option, as rounded nails can grow into the foot,” she explains.
If you suffer from bunions like Victoria Beckham, try Margaret Dabbs’ foot-perfecting trick: “If you’ve got a big toe that leans slightly inwards, subtly file the big toe nail in a diagonal line so that the inside of the nail is a fraction higher.
“This gives the illusion of straight, evenly-shaped toes.”

2. Buff and gloss
Next, use a square block buffer over the nail bed.
“Buffing nails gets rid of discoloration caused by leftover nail polish or fake tan,” says Margaret Dabbs.
Once ridges are smoothed and the toenails are stain-free, use a separate glossing buffer to create a glass-like effect.
The action is a bit like shining shoes; buff back and forth quickly over the nails until they’re gleaming.
“I always carry a glossing file in my handbag for those occasions when I don’t have time to wait for polish to dry – it’s the natural equivalent of top coat,” she adds.
3. File hard skin
“The most common mistake made during at-home pedicures is to file hard skin while your feet are in water,” says Margaret Dabbs.
“When feet are wet, it’s harder to see what areas need filing. Plus, cracked feet can split in water, which can be painful and lead to infection. So, always file on dry skin.”
The best callous tool?
“Leave cutting or grating devices to the pros, as it’s easy to go overboard which can leave you with sore, aching heels,” she says.
Instead, opt for a foot file (ideally crystal) that will evenly reduce hard skin.
“Always file hard areas, such as big toes and heels, in soft strokes towards the underneath of your foot. If you file upwards, you will be left with a ridge.”
4. Exfoliate
Once nails and hard skin are taken care of, soak feet in warm water ready to exfoliate away dead skin.
“When you don’t have an exfoliating product to hand, mix together body wash with a handful of coarse sea salt and massage into damp feet,” says Margaret Dabbs.
“This instantly revives tired looking feet, leaving cuticles clean and skin bright and gleaming.”
5. Oil and polish
Forget foot balms, for a “luxe” look use a foot oil which will penetrate deeper into the skin without the sticky finish of a heavy cream.
“Dry oils like emu oil contain moisturizing and anti-inflammatory properties,” says Margaret Dabbs.
Great for holidays when the sand and sun leave feet looking parched, top up your pedicure with a quick spray each night to keep feet looking silky.